


Anyway, back to the DIY. I did this ENTIRELY from my phone...in like 10 minutes. Next I'll dive into the step by step process so that you can create beautiful prints too!
1. When you are taking your pictures, be mindful of negative space (meaning lots of space around the top of the photo). Use a nice light background (a plain white wall works great) and make sure it's a time of day where you can take advantage of good lighting. For my pictures, I tried to goof off with my kiddos so that I could capture a more natural shot. Once I was satisfied with the picture, time to edit!
2. Editing 101:
*open the picture
*hit the "edit" button in the top right corner
*tap on the 'crop' button in the bottom left of the screen
*choose the 2:3 resize option and save
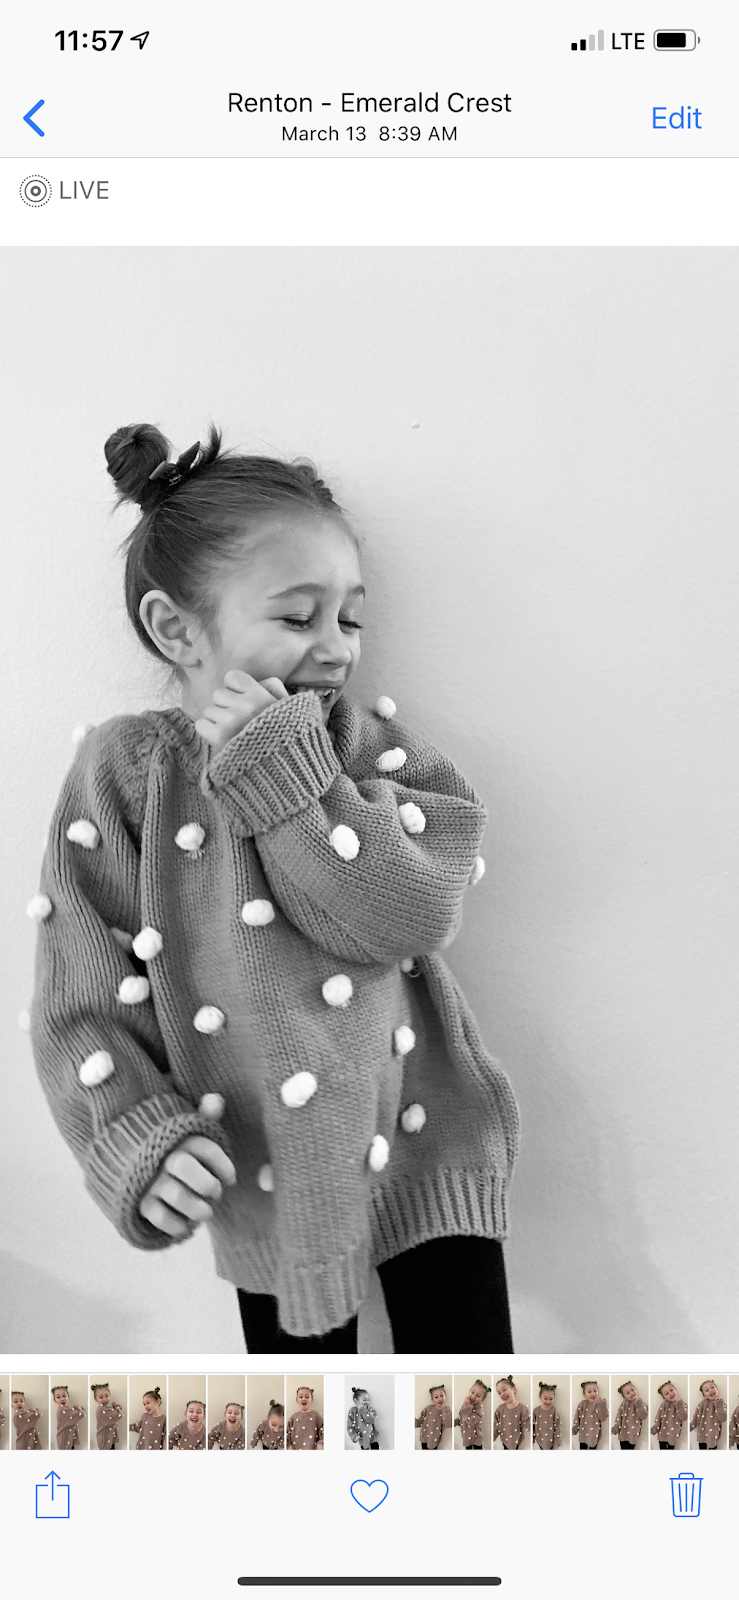
*click on the three overlapping circles and choose the 'mono' filter and save
*click on the light button (looks like a little timer) at the bottom of the screen and tweak the brightness and then save


You're done with the editing process!
3. Next you're ready to upload to Staples.com. Now, I tried to expedite this process but it can only be done online (not at your local store--they are phasing out these types of printers). Below is a brief walk through of how to upload your print and what to select. It works very similar if you want to upload right from your phone! Here is a brief tuturoial (click on the link)!
How to order and Engineer Print from Staples.com
That's it!!!
I went into my local Ikea for the frames. I got these ones in size 24X35 (you can also purchase online if you don't live by an IKEA). They are cheap frames but wait to see if you love the look before investing in expensive ones! The plus side to these are that they are light weight and no glass will break as they are made from thin plexiglass.
That's it!! Please comment below if you have any questions, we love how these prints add character to our otherwise SUPER blank wall!!
Xoxo
Jaimee Lynne
No comments